
Most homes quietly bleed 25 to 30 percent of their purchased energy every year. That waste rarely stems from one catastrophic failure. Instead, it results from unsealed ductwork, aging mechanical equipment, microscopic gaps around exterior frames, and thermal bridging through uninsulated materials. Solving high utility bills with isolated quick fixes—like adding a portable space heater—only treats symptoms while leaving underlying building science unaddressed.
True residential efficiency requires treating your house as one interconnected ecosystem. Changing how air moves through your basement affects how hard attic insulation works, just as upgrading a water heater impacts breaker panel capacity. Before calling a contractor, start with a comprehensive energy audit using a blower-door test and infrared thermal imaging. Pinpointing pressure imbalances and air leaks gives you a blueprint to prioritize improvements that deliver comfort and financial returns.
Schedule Biannual Tune-Ups and Seal Leaky Ductwork
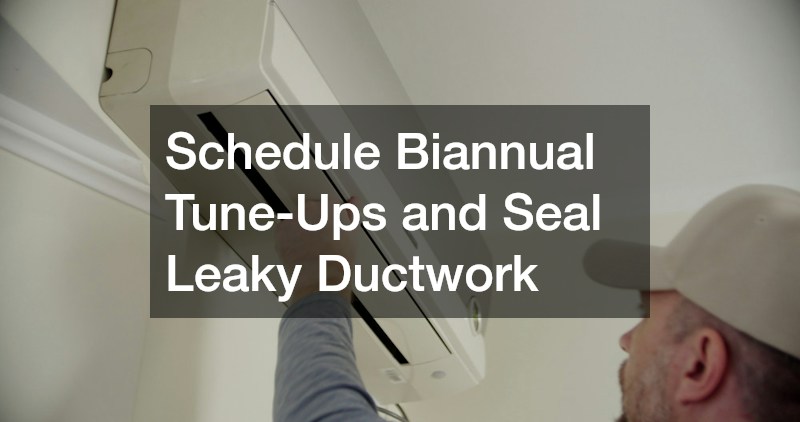
Even top-rated climate equipment cannot perform efficiently if ductwork behind your walls leaks conditioned air into attics or crawlspaces. Department of Energy studies show typical residential duct systems lose 20 to 30 percent of moving air through disconnected joints, torn flex ducts, and unsealed seams. Dust buildup on coils and clogged filters further restrict airflow, forcing blower motors to run longer cycles.
Scheduling preventive HVAC repairs and seasonal maintenance twice a year—once in spring before cooling season begins and once in autumn before the first freeze—keeps mechanical friction and energy waste low. Proactive service restores factory-spec airflow and extends equipment lifespan.
- Seal accessible supply and return duct joints with water-based mastic sealant or UL-181 rated foil tape instead of cloth tape, which dries out within a few years.
- Replace pleated MERV 8 to MERV 11 air filters every 60 to 90 days to prevent static pressure buildup across the blower motor.
- Have a technician clean evaporator coils, verify refrigerant charge, and clear condenser fins annually, since thin grime layers cut heat-transfer efficiency by up to 15 percent.
Upgrade to Variable-Speed Heat Pumps and Smart Zoning
If your furnace or air conditioner is over 12 years old, it likely relies on a single-stage compressor or burner. Single-stage systems operate on an all-or-nothing basis, blasting at 100 percent capacity until the thermostat is satisfied and shutting off completely. This constant cycling creates uncomfortable temperature swings, leaves humidity unchecked, and triggers electrical spikes at every startup.
Modernizing your home with high-efficiency heating and air conditioning technology—specifically variable-speed inverter heat pumps—transforms how your home maintains thermal balance. Inverter-driven compressors continuously modulate speed in tiny increments, running at 25 to 30 percent capacity to gently offset heat loss or gain. Pairing variable-speed equipment with motorized zone dampers ensures you stop conditioning unoccupied rooms.
- Insist on a room-by-room Manual J load calculation before buying new equipment, as an oversized unit short-cycles and fails to dehumidify properly.
- Choose cold-climate heat pump models with a SEER2 rating above 18 and an HSPF2 rating above 9.5 for year-round efficiency.
- Install motorized dampers and dedicated zone thermostats to separate sleeping areas from living spaces during daytime hours, using gradual 4- to 6-degree overnight setbacks.
Replace Single-Pane Glass with Low-E, Argon-Filled Units
Transparent surfaces are the weakest thermal link in any exterior wall assembly. Old single-pane units or aging double-pane glass with failed perimeter seals allow radiant heat indoors during July and let warmth escape rapidly during January. Cold interior glass surfaces also create convective drafts that make rooms feel chilly even when the thermostat reads 70 degrees.
Investing in custom window installation solves both material inefficiency and structural fit issues. Off-the-shelf stock units often require thick wooden shims and excessive caulking to bridge gaps in slightly out-of-square rough openings. Precision-built units manufactured to sixteenth-of-an-inch tolerances ensure tight perimeter engagement, proper exterior flashing, and continuous insulation around the frame.
- Select double- or triple-pane assemblies coated with spectrally selective low-emissivity (Low-E) metallic oxides and filled with dense argon gas to reflect infrared heat without blocking daylight.
- Match glass ratings to your climate: prioritize a U-factor of 0.27 or lower in northern regions and a Solar Heat Gain Coefficient below 0.25 in hot southern zones.
- Ensure installers inject low-expansion polyurethane foam between rough framing and new jambs rather than stuffing fiberglass scraps that permit air infiltration.
Realign Exterior Frames and Install Compression Weatherstripping

While glass receives most attention during upgrades, perimeter gaps around entryways and patio sliders often account for equal air exchange. Over decades of seasonal humidity swings and house settling, heavy exterior slabs warp, hinges loosen, and rubber gaskets flatten into brittle strips. A one-eighth-inch gap along the bottom and latch side of an entryway equals a six-square-inch hole punched through your wall.
Targeted door repairs offer one of the fastest financial paybacks of any weatherization project. Before considering a full replacement, test every exterior frame using the dollar-bill method: close the latch over a crisp bill and pull. If the paper slides out without resistance, conditioned air is escaping around that perimeter.
- Replace flattened foam tape with silicone bulb or magnetic compression weatherstripping along top and side jambs so the slab presses firmly against a continuous seal.
- Install an adjustable-height aluminum and composite threshold paired with a multi-fin sweep to eliminate gaps along the bottom sill.
- Tighten loose top hinges with three-inch screws driven into wall framing studs to pull a sagging slab back into alignment with the strike plate.
Transition to Tankless or Hybrid Heat-Pump Water Heaters
Heating water is the second-largest energy expense in a typical household, accounting for roughly 18 percent of utility consumption. Conventional storage tanks waste substantial fuel hourly through standby heat loss, firing repeatedly to keep 40 to 50 gallons hot overnight. Once tanks pass 10 years, mineral scale coats the tank bottom, acting as an insulating barrier between the burner and water.
Consulting a licensed plumber before your old tank fails lets you transition strategically to modern water-heating technologies. Depending on household demand and utility rates, hybrid electric heat-pump models or condensing gas tankless units can cut water-heating energy consumption by 50 to 70 percent. A qualified professional can evaluate venting pathways, gas line capacity, and condensate drainage.
- Consider an ENERGY STAR-certified hybrid heat-pump water heater if your unit sits in an unconditioned basement or garage, extracting ambient heat from surrounding air while dehumidifying.
- Evaluate a condensing tankless gas model for high simultaneous demand, eliminating standby storage losses while delivering endless hot water on demand.
- Set your water heater thermostat to 120 degrees Fahrenheit and add a timer-controlled recirculation pump to avoid wasting cold water at distant taps.
Insulate Exposed Hot-Water Pipes and Regulate Water Pressure
Even an efficient water heater loses energy when hot water travels through bare copper or PEX lines in chilly basements. Uninsulated supply piping radiates heat into surrounding air, forcing you to run taps longer to purge cooled water and making your heater work harder. Meanwhile, municipal water pressure above 80 psi forces extra water volume through open valves, accelerating cartridge wear and hot-water waste.
Scheduling a comprehensive plumbing service inspection optimizes your distribution network from the main shutoff valve to every fixture. Addressing pipe insulation, tank sediment, and silent fixture leaks requires minimal material cost while delivering immediate reductions in monthly bills.
- Slide closed-cell polyethylene foam pipe sleeves over the first six feet of hot and cold lines connected to your water heater, plus accessible horizontal hot-water runs.
- Flush two to three gallons from the bottom drain valve of storage-style water heaters every six months to purge sediment buildup.
- Test static water pressure with a screw-on gauge—calibrating a pressure-reducing valve to 55–65 psi if readings exceed 75 psi—and install WaterSense-certified 1.5-gpm showerheads.
Upgrade Outdated Breaker Panels to Eliminate Phantom Loads
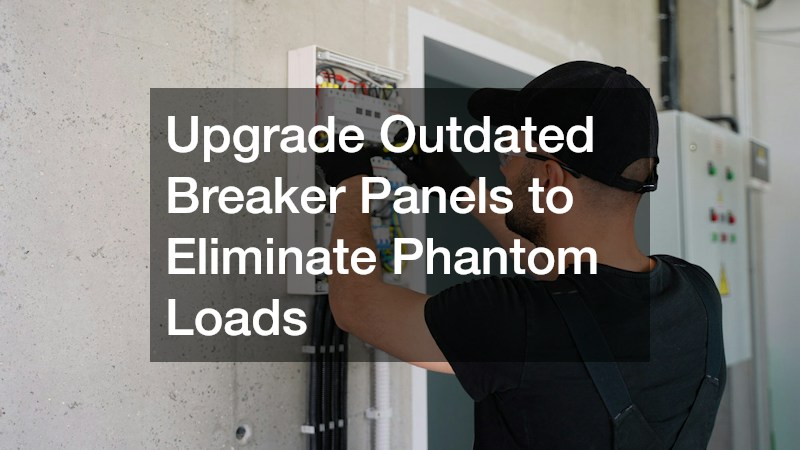
As homeowners transition from fossil-fuel appliances toward electric alternatives—including induction cooktops, heat-pump dryers, and Level 2 vehicle chargers—older 100-amp service panels quickly become a bottleneck. Beyond limiting capacity for clean electrification, aging panels with worn bus bars or loose neutral connections create resistance that generates waste heat and compromises power quality.
Bringing in licensed electrical services to modernize your main service panel transforms how you monitor and control household power. Upgrading to a 200-amp panel with smart circuit-level monitoring provides real-time visibility into which appliances inflate your bill. Many households discover that always-on electronics, gaming consoles, and aging garage refrigerators account for 10 to 15 percent of annual electricity use through phantom loads.
- Upgrade legacy 100-amp panels to a 200-amp smart load center with built-in current transformers that track wattage down to individual circuits via smartphone app.
- Install dedicated 240-volt circuits for heat-pump dryers and induction ranges, transferring over 85 percent of energy directly into cookware versus 40 percent for gas burners.
- Wire occupancy-sensing dimmer switches alongside ENERGY STAR-rated LED fixtures in hallways and utility rooms, plus whole-home surge protection at the main panel.
Pair Smart Load-Shedding Modules with Whole-Home Backup Power
Modern energy efficiency involves more than consuming fewer kilowatt-hours; it also encompasses grid resilience and managing when your home draws peak power. Severe weather events, aging transmission lines, and rising time-of-use utility rates expose homeowners to prolonged outages and steep afternoon peak-demand surcharges. Relying on portable gas cans during an outage leaves critical mechanical systems unprotected and puts frozen food and sump pumps at risk.
Integrating permanent generator installations with intelligent load-management controls maintains uninterrupted comfort without requiring an oversized, fuel-guzzling unit. Rather than sizing a standby system to run every heavy appliance simultaneously, smart load-shedding modules monitor total amperage draw and prioritize essential circuits—like refrigerators, well pumps, and primary climate zones—while pausing non-essential loads.
- Pair an automatic transfer switch with smart load-shedding relays so a smaller, fuel-efficient standby unit safely handles high-wattage compressor startups without overloading.
- Choose models featuring variable-speed engine technology that throttles RPMs down during low-demand overnight hours to cut fuel consumption and operating noise.
- Connect backup systems to a natural gas line or underground propane tank, and program load-control relays to shed high-draw appliances during peak utility rate windows.
Seal Crawlspace Cracks and Encapsulate Damp Basements
Building scientists cite the “stack effect” to explain why upper floors feel stuffy in summer and drafty in winter. As warm conditioned air rises and escapes through small gaps in your attic ceiling plane, it creates a vacuum below that pulls cold, damp outdoor air inward through lower levels. If basement walls have unsealed cracks or crawlspaces rely on open perimeter vents, your climate equipment must constantly condition and dehumidify ground-level air.
Prioritizing structural foundation repairs and below-grade air sealing stops the stack effect right at its intake point. Sealing structural cracks, insulating rim joists, and isolating damp soil from living areas stabilizes indoor humidity levels and prevents musty air from migrating upward through wall cavities.
- Inject concrete wall cracks with expanding polyurethane or structural epoxy resins to permanently block groundwater seepage and soil-gas infiltration.
- Cut two-inch rigid polyisocyanurate or XPS foam board to fit tightly into every basement rim joist cavity, sealing all edges with spray foam to stop perimeter heat loss.
- Encapsulate dirt-floor crawlspaces with a continuous 12- to 20-mil reinforced polyethylene vapor barrier sealed up masonry walls, close exterior vents, and maintain 50 percent humidity with a dehumidifier.
Install Insulated Underlayment Beneath Sustainable Wood Planks

Cold floors are a primary reason homeowners crank thermostats up three or four degrees higher than necessary during autumn and winter. When interior finishes sit directly over bare concrete slabs or poorly insulated joists above unheated garages, conductive heat loss pulls warmth straight from your feet. Meanwhile, aging carpeting traps allergens while offering minimal thermal resistance once padding compresses.
Replacing worn surfaces with responsibly harvested hardwood flooring paired with high-density thermal underlayment upgrades both indoor comfort and property value. Unlike synthetic vinyl planks that feel cold underfoot, natural wood possesses favorable cellular thermal properties that retain ambient warmth, especially over an engineered thermal break.
- Lay high-density cork, closed-cell acoustic foam, or extruded polystyrene thermal underlayment beneath solid or engineered planks to create a continuous thermal break over slabs.
- Select Forest Stewardship Council (FSC) certified domestic species—such as white oak, maple, or hickory—sourced from sustainably managed regional forests to lower transportation emissions.
- Acclimate wood planks inside conditioned spaces for five to seven days before installation and finish surfaces with ultra-low-VOC waterborne polyurethane or hardwax oils.
Transforming an energy-hungry house into a high-performing sanctuary does not require tackling every renovation at once. The smartest sequence tightens your building envelope first by sealing air leaks, insulating rim joists, and upgrading glass and entryways, then optimizes mechanical, water-heating, and power infrastructure to match your reduced load. Completing envelope upgrades first prevents paying for oversized mechanical capacity.
Before signing contracts, review federal energy-efficiency tax credits, state clean-energy rebates, and local utility incentives, as stacking programs can offset thousands of dollars in upfront costs. Start this weekend by testing entryway seals, checking air filters, and scheduling a whole-home energy assessment so every dollar invested delivers lasting comfort and lower bills.